Vagrant is an open-source software product for building and maintaining portable virtual development environments.
Why Vagrant?
I worked already in many projects with a distributed developer/analysts team that needs to work on shared data with shared software development. In those projects the usage of different operating systems, databases, networking solutions, user rights and so on often hinders the work on data and solutions: You need to deal with problems originating from the infrastructure on the user side instead of problems related with the data or algorithms.
One of the classics is the usage of databases and the connections to a GIS. This often requires the setting of parameters and usage rights. If you’re working on the same machine, this might work fine. But if you are not aware that your colleague is working on a Windows OS and you’re running on Mac this might create some problems if you would like to use some Jupyter scripts to get, alter, analyze and store data.
There are already approaches to reduce the difficulties in setting up a working environment that is designed to run out of the box. One of those is the OSGeo-Live:
OSGeo-Live is a self-contained bootable DVD, USB thumb drive or Virtual Machine based on Lubuntu, that allows you to try a wide variety of open source geospatial software without installing anything. It is composed entirely of free software, allowing it to be freely distributed, duplicated and passed around.But sometimes you might just need a simple, but still custom system for your desired needs which can be shared and also altered by using git for example… An image might not be good for this at all.
In short:
Vagrant…
- lowers development environment setup time
- maximizes the parity between development and production
- shreds “works on my machine” excuses
- saves your ass
Creating your Geo-Lab with Vagrant

Let’s assume we are working with colleagues and would like to provide a working environment for our colleagues. People should be able to log in, use gis with a GUI and also to work on websites in a git way.
In this first section I’ll describe how to set this up.
Install Vagrant and Virtualbox
First you need to install Vagrant on a system. This applies to the user of your vagrant box as well as to the creator. Vagrant will deal with the setup and configuration of your box but you’ll also need an “interpretor” of your box which is a virtual machine in the end. My weapon of choice is Virtualbox. So install Virtualbox as well! This should work without a real problem as both programs come with binaries for all major operating systems and there is no custom build needed.“Creating” a base Vagrant box
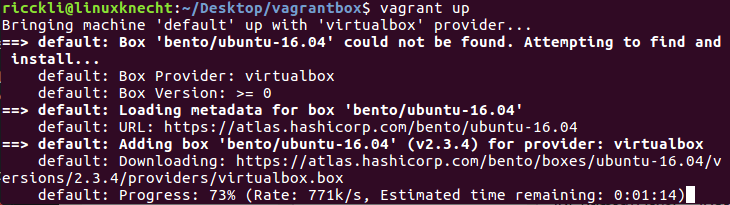
As most of the software we are using have their origins in the Open Source world, we will use a Linux based system by using a minimal Ubuntu version (without a GUI :-/). But despite downloading this we will first create a local folder and place a plain text file in there named “Vagrantfile”. The content of the text file will define the base settings of our virtual machine.Vagrant.configure(2) do |config| config.vm.provider :virtualbox do |vb, config| config.vm.box = "bento/ubuntu-16.04" #We will use current Ubuntu 16.04 LTS vb.memory = "2048" #create a machine with 2GB of RAM vb.customize ["modifyvm", :id, "--cpuexecutioncap", "50"] #don't use more the half the power end endOnce saved we’re ready to “start” our local machine by running the command “vagrant up”. To destroy the machine run “vagrant destroy”. See more commands here.
Now vagrant downloads the files for the machine (could take some time) and does the so-called “provisioning”.
Getting a GUI up and running
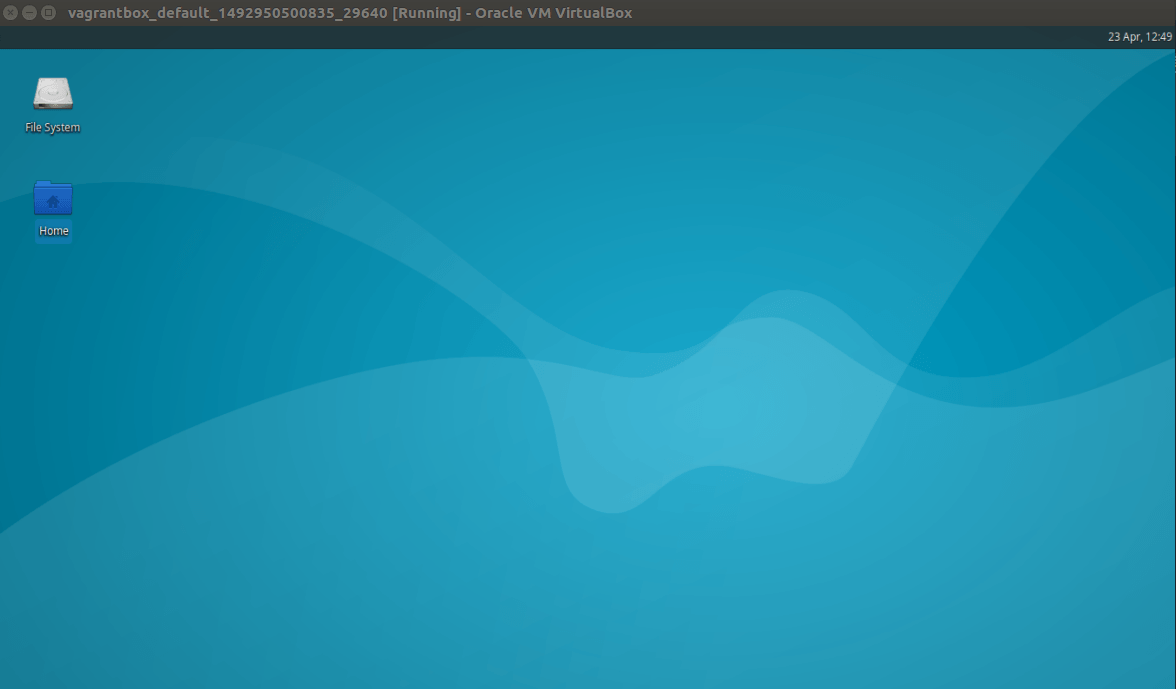
As the machine started you can simply login with the default user vagrant and password vagrant using the command “vagrant ssh”. But as you might see, the box does not come with a GUI yet. Most of my colleagues are used to work with a GUI so let’s install one inside the virtual machine:sudo apt-get update sudo apt-get install --no-install-recommends xubuntu-desktop
Vagrant.configure(2) do |config|
	config.vm.provider :virtualbox do |vb, config|
		config.vm.box = "bento/ubuntu-16.04" #We will use current Ubuntu 16.04 LTS
		vb.memory = "2048" #create a machine with 2GB of RAM
		vb.customize ["modifyvm", :id, "--cpuexecutioncap", "50"] #don't use more the half the power
	end
	config.vm.provision "shell", path: "provisioning/provision.sh" #here is everything stroed that happens once the mashine is up and running
end
As you see, I asked the system to run a .sh (shell) file after the machine creation. The provision file holds the needed commands to customize our local machine:
#! /bin/sh
# Locale
update-locale LANG=en_US.UTF-8 LC_ALL=en_US.UTF-8
# Update Repositories:
apt-get update
# Install basic GUI:
apt-get install --no-install-recommends -y xubuntu-desktop
Adding some Geo Magic
Now I can add every software package I like in the provision.sh file and this will be executed on every host (feels like superpower).As it is mostly necessary we will install qgis and PostGIS, create databases, grant some rights and connect both systems with each other. But let me show you first the installation and settings. Therefore I need to add some code to my provision file:
# add and Update Repositories with keys:
add-apt-repository "deb http://qgis.org/debian xenial main"
add-apt-repository "deb http://apt.postgresql.org/pub/repos/apt/ xenial-pgdg main"
apt-get update
wget --quiet -O - https://www.postgresql.org/media/keys/ACCC4CF8.asc | \
sudo apt-key add -
sudo apt-key adv --keyserver keyserver.ubuntu.com --recv-key 073D307A618E5811
Once we have the repositories added, let’s install everything we need and also some beneficial software (like a browser, a server and a nice little editor):
apt-get install -y --allow-unauthenticated \
postgresql-9.4 \
postgresql-9.4-postgis-2.2 \
qgis python-qgis qgis-plugin-grass \
apache2 \
kate \
firefox
But for the moment we should concentrate on getting the settings right for the user of the machine in terms of a GIS workstation. As we installed QGIS and PostGIS I would enable the user to connect right away with the database without setting any additional connections. Therefore I am providing the basic settings as a separate file upfront. But first we need to set the database up. We can do this by adding some lines to the provision.sh file:
#create database and enable postgis extension:
sudo -u postgres psql -c "CREATE USER vagrant PASSWORD 'secret';"
# Setup databases:
sudo -u postgres createdb project_data --owner=vagrant
# Setup PostGIS on databases
sudo -u postgres psql -d project_data -c 'CREATE EXTENSION if not exists postgis;'
Connect, Connect, Connect
Now we do have QGIS as well as PostGIS on our machine. To let them kiss each other, I prepared a configuration file that enables the user to use the DB right away. But how to get this into the machine? Vagrant offers the file provisioner for this which copies files into relevant folders on the guest machine. So we will copy a prepared QGIS configuration file with the setup of the machine using this line not in the provision.sh file (which is used by the shell provisioner) but into the Vagrantfile itself right before the shell provisoner line:config.vm.provision "file", source: "config_files/QGIS/QGIS2.conf", destination: "/home/vagrant/.config/QGIS/QGIS2.conf"The QGIS2.conf file holds all relevant information for the moment.
Manage Data
Now let’s move on to data. One way of keeping all the data versioned is the usage of git. I am aware that this is not the most suitable way to achieve this but it is a possible one.To keep changes on data versioned we might want to have the data outside of our machine (guest) to apply versioning with git, but still usable inside the machine as well. Vagrant offers the use of synced folders for this purpose. So I am preparing a very easy project outside of the vagrant machine and sync the folder and its files inside the machine as a data folder. Every change inside the data folder in the host will be mirrored now to the guest and vice versa by enhancing my Vagrantfile:
config.vm.synced_folder "data/", "/vagrant/data/", type: "rsync"
As our project file and data files get updated ones a user adds or changes a layer (must be inside the data folder) we see the changes also on the host machine. We can share the changes using git with others.
Getting Shit Done Automatically
To give this a bit more of complexity I am fetching some data from the web using wget. Once I have it locally I push it into the PostGIS table via ogr2ogr (gdal). This is scheduled to run every day at 11:09 for getting the data and 11:11 for pushing the data to the databasecron:
#remove all old entries if there are any
crontab -u vagrant -r
#add a daily cronjobs to start at 11:11 to download and update quakes database
{ crontab -l -u vagrant; echo '11 11 * * * sudo -u vagrant /vagrant/config_files/data_load.sh'; } | crontab -u vagrant -
sudo service cron restart
The file data_load.sh is stored in a “config_files” folder which is also a synced folder (see above, in the Vagrantfile:
config.vm.synced_folder "config_files/", "/vagrant/config_files/", type: "rsync"The code in the data_load file is quite simple:
#! /bin/sh
# Locale
wget -q -O /vagrant/data/all_day.geojson https://earthquake.usgs.gov/earthquakes/feed/v1.0/summary/all_day.geojson
sudo -u vagrant ogr2ogr -f "PostgreSQL" PG:"dbname=project_data user=vagrant" "/vagrant/data/all_day.geojson" -nln quakes -append
Now every user can add updated quake data inside his QGIS project if he likes. If we change the project we also change it on the host system (as this is syncronized).
But be aware: Not all changes are tracked and visible outside the guest. If we push data to the databse inside the guest we have no idea about this everywhere else. Also it might be easy to get data and qgis-project file out of order if you use layers from the postgis table inside your project. Try to recreate changes on the DB inside the provision file maybe.


how about ArcGIS server? any way to do such automation? The most challenging thing to me is to handle the licensing and create site and web adapter setup via vagrant script.
you can try the chef version: https://blogs.esri.com/esri/arcgis/2015/07/17/chef-cookbook-available-to-automate-configuration-of-web-gis/
What is “axxxx”?