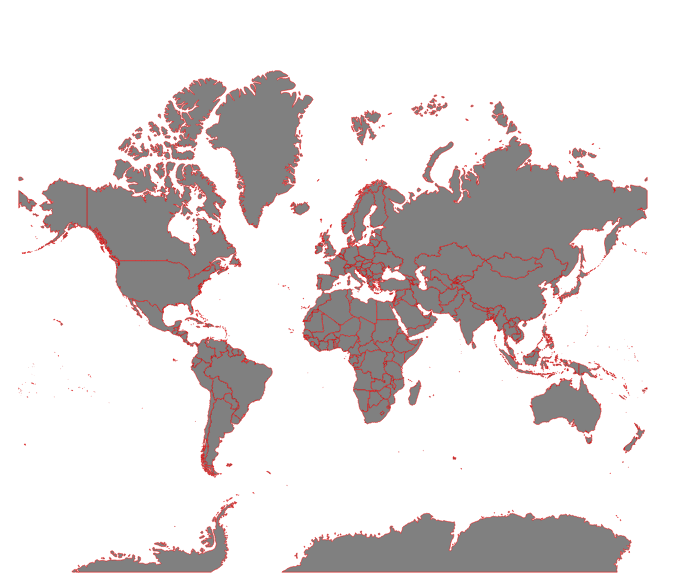
Tiled map layers are an important part of the digital mapping stack, since Google and others introduced their slippy maps quite some time ago. There’s a huge ecosystem of (open source) software for creating and hosting tiles for your custom mapping project. In this tutorial, I want to share what I learned while setting up a tileserver for our projects at Geolicious.
Over the years, I’ve come to create a number of mapping projects, where the requirement was to have a custom set of map tiles for use in web maps and mobile apps. We have covered the creation of these tiles in a previous tutorial using tilemill. In this tutorial, I will give you an introduction of how you can setup a Linux server (Ubuntu 16.04 in my case) for hosting those tiles.
Until now, we host our maps as static files from the same web server as digital-geography.com, but we are preparing to separate those services. The goal in our use case is to have a separate server with its own subdomain, as central point for accessing our tiled map services, while it should also offer more sophisticated functionality than just hosting static files from disk. The Tilestache documentation lists a number of features that I should mention, too:
- TileStache renders mapnik maps (you pass it a mapnik configuration, created for example with tilemill, and it will use it to render tiles on demand from the configured data sources, like PostGIS or any other GDAL compatible data source, so you won’t need to render them all in advance, but only the ones that are requested
- TileStache serves tiles from existing mbtiles (mbtiles are essentially sqlite database files with all tiles in one file, making them more portable and compact than single files)
- It can also serve GeoJSON vector tiles from any GDAL datasource, but this is not what I am looking for in the first place (mostly because it is not as efficient as MapboxVectorTiles)
- The docs also mention support for different Projections, but I don’t have a use case for that in mind
- It offers different caching mechanisms, so you wont overload your server with recreating the same tiles over and over again
- a lot of other fancy stuff, check out the docs.
For the task at hand, I looked out for open source solutions, and found Tilestache to be worth a try. Other solutions would include mapproxy, but I didn’t investigate in detail. Also, Tilestache is written in Python, so I thought it would be possible to have a look at the code in case I encounter any problem.
The Tilestache docs mention some different deployment options, but I am most comfortable with nginx as web server and gunicorn as WSGI Application Server, so I will only focus on that path in my tutorial.
Prerequisites
For this tutorial you will need a server running Ubuntu 16.04, the latest long term support release at the time of writing. I would recommend you setup a new server at your hosting provider of choice or use a virtual machine to follow along. For small workloads, 1GB of RAM and and a single core CPU should be sufficient, if you only want to serve existing tiles. If you want to render tiles dynamically, you should go for beefier hardware, but I cant give any figures here, as they depend on what you want to do exactly. Furthermore I will assume you have SSH access as a non-root admin user and know how to apply basic hardening for your server, otherwise check out this great tutorial first.
Installation
Once we have a server running and are logged in with SSH, we need to install some required system packages. We need Nginx as webserver, which will receive the HTTP(S) requests and pass them over to the application server (gunicorn). OpenSSL is only necessary if you want to serve tiles via https, which I would recommend. I won’t cover setting up a cert here, but give an example nginx conf for that. You can use Letsencrypt to get free SSL certificates with automatic renewal. Furthermore, we are going to install python-pip for installing TileStache and its dependencies, as well as Supervisor for managing the gunicorn process and restart it automatically after crashes and reboots. If you want to use mapnik as provider for your tiles, you’ve got to compile that manually. I might cover that in a later tutorial, as this was not necessary my use case.
# update package index
sudo apt update

# install packages
sudo apt install nginx gunicorn python-pip supervisor openssl
Next up, we need to install TileStache and its dependencies using Pythons package manager (pip). The -U switch tells pip to install these packages in the home directory of the current user instead of the global Python installation to avoid conflicts with the Python packages that are installed through the systems package manager. You could as well use a virtual python environment for that, but thats for another tutorial.
# install python packages
pip install -U TileStache Pillow modestmaps simplejson werkzeug uuid mbutil
Now that we have all requirements installed, we move on with the configuration.
Configuration
Lets start with configuring Nginx. We need to create a server directive that listens on a domain or IP adress and passes the request to the application server. If you want HTTPS for your tileserver, Nginx will also be in charge of terminating the encrypted communication. But lets start with a simple non-HTTPS version:
First of all, create the config file and open in the editor, for example with nano:
sudo nano /etc/nginx/sites-available/tiles.mydomain.com.conf
Now add the following basic configuration:
server {
  # listen on port 80 for IPv4 and IPv6 requests:
  listen 80;
  listen [::]:80;

  # the fully qualified domain name that points to your server in the DNS record:
  server_name tiles.mydomain.com;

  # pass all requests to the application server
  location / {
    proxy_pass http://localhost:8000/;
    proxy_set_header Host $http_host;
    proxy_connect_timeout 10;
    proxy_read_timeout 10;
  }
}
If you need HTTPS, the nginx config should look like that instead:
server {
  # listen for HTTP requests, but redirect to HTTPS immediately
  listen 80;
  listen [::]:80;
  server_name tiles.mydomain.com;
  return 301 https://$server_name$request_uri;
}

server {
  # listen for HTTPS requests on port 443, using faster HTTP2 protocol
  listen 443 ssl http2;
  listen [::]:443 ssl http2;
  server_name tiles.mydomain.com;

  # tell nginx where to find your SSL certificate and private key
  ssl_certificate /etc/nginx/ssl/tiles.mydomain.com.pem;
  ssl_certificate_key /etc/nginx/ssl/tiles.mydomain.com.key;

  # configure SSL parameters
  # (using best practices from https://cipherli.st/)

  ssl_protocols TLSv1 TLSv1.1 TLSv1.2;
  ssl_prefer_server_ciphers on;
  ssl_ciphers "EECDH+AESGCM:EDH+AESGCM:AES256+EECDH:AES256+EDH";
  ssl_ecdh_curve secp384r1;
  ssl_session_cache shared:SSL:10m;
  ssl_session_tickets off;
  ssl_stapling on;
  ssl_stapling_verify on;
  resolver 8.8.8.8 8.8.4.4 valid=300s;
  resolver_timeout 5s;
  # disable HSTS header for now
  #add_header Strict-Transport-Security "max-age=63072000; includeSubDomains; preload";
  add_header X-Frame-Options DENY;
  add_header X-Content-Type-Options nosniff;
  ssl_dhparam /etc/ssl/certs/dhparam.pem;

  location / {
    proxy_pass http://localhost:8000/;
    proxy_set_header Host $http_host;
    proxy_connect_timeout 10;
    proxy_read_timeout 10;
  }
}
Once you are done, save with Ctrl-O and exit with Ctrl-X. If you’re using the HTTPS version, you also have to create custom Diffie-Hellmann parameters to add some more cryptographic salt to the HTTPS connection. You can live without those, but it is strongly recommended not to use the system defaults here. You just need to run:
sudo openssl dhparam -out /etc/ssl/certs/dhparam.pem 2048
Now that we have created the Nginx configuration for our tile server, we need to enable it. Therefore we create a symbolic link to the config from the directory where nginx will look for configuration files:
sudo ln -s /etc/nginx/sites-available/tiles.mydomain.com.conf /etc/nginx/sites-enabled/tiles.mydomain.com.conf
Before we can reload nginx to catch up with the configuration changes, we will test the config files for syntax errors. The following command should not report any errors:
$ sudo nginx -t nginx: the configuration file /etc/nginx/nginx.conf syntax is ok nginx: configuration file /etc/nginx/nginx.conf test is successful
If everything is fine, we can reload nginx with:
sudo systemctl reload nginx
If this was successful, we can move on configuring the other parts. Next up is TileStache. As mentionded earlier, TileStache has a lot different options regarding data sources, caches and layer configuration. For this tutorial, I want to keep it simple and show you how to create a layer from an existing mbtiles file and cache it to disk. Therefore, we create a data folder and a config file for TileStache. Create a folder in your users home directory with
$ mkdir ~/tilestache
and create the config with an editor:
$ nano ~/tilestache/tilestache.cfg
{
  "index": "/home/user/tilestache/index.html",
  "cache": {
    "name": "Disk",
    "path": "/tmp/tilestache",
    "umask": "0000"
  },
  "layers": {
    "my_layer": {
      "provider": {
        "name": "mbtiles",
        "tileset": "/home/user/tilestache/data/my_tiles.mbtiles",
        "maximum cache age": 604800
      }
    }
  }
}
The content should be self-explaining, customize to your username and mbtiles filename. Create a folder for your tiles in tilestache/data and drop your mbtiles there (for example using scp). The “maximum cache age” setting should add a Header to the response telling the browser to cache the results for 7 days, given in seconds. That doesnt work though in my current setup and I have yet to investigate and update this tutorial. It might be possible to get around this with setting the header from nginx. Stay tuned.
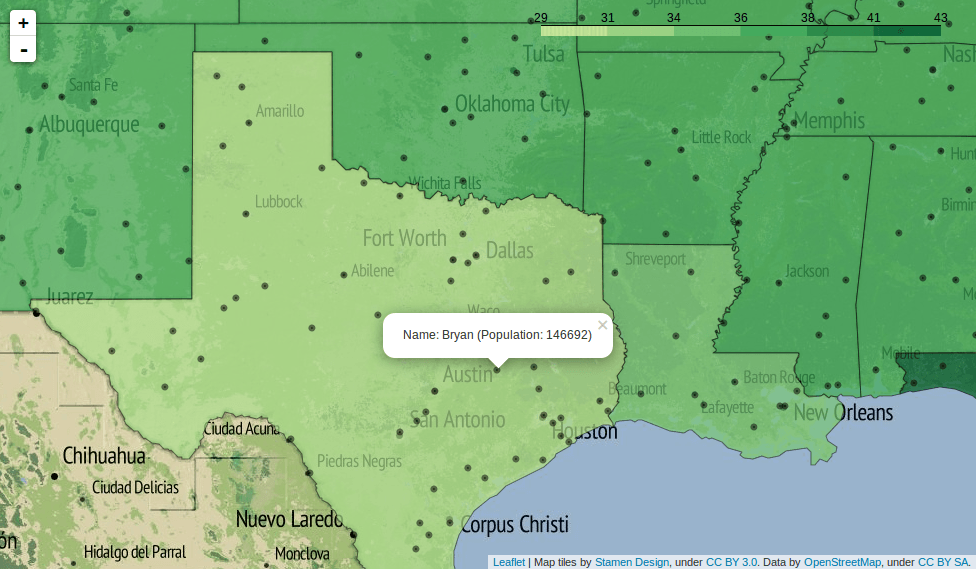
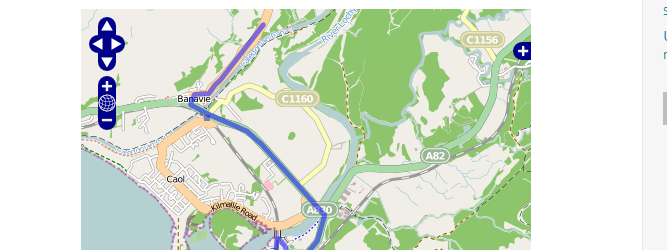
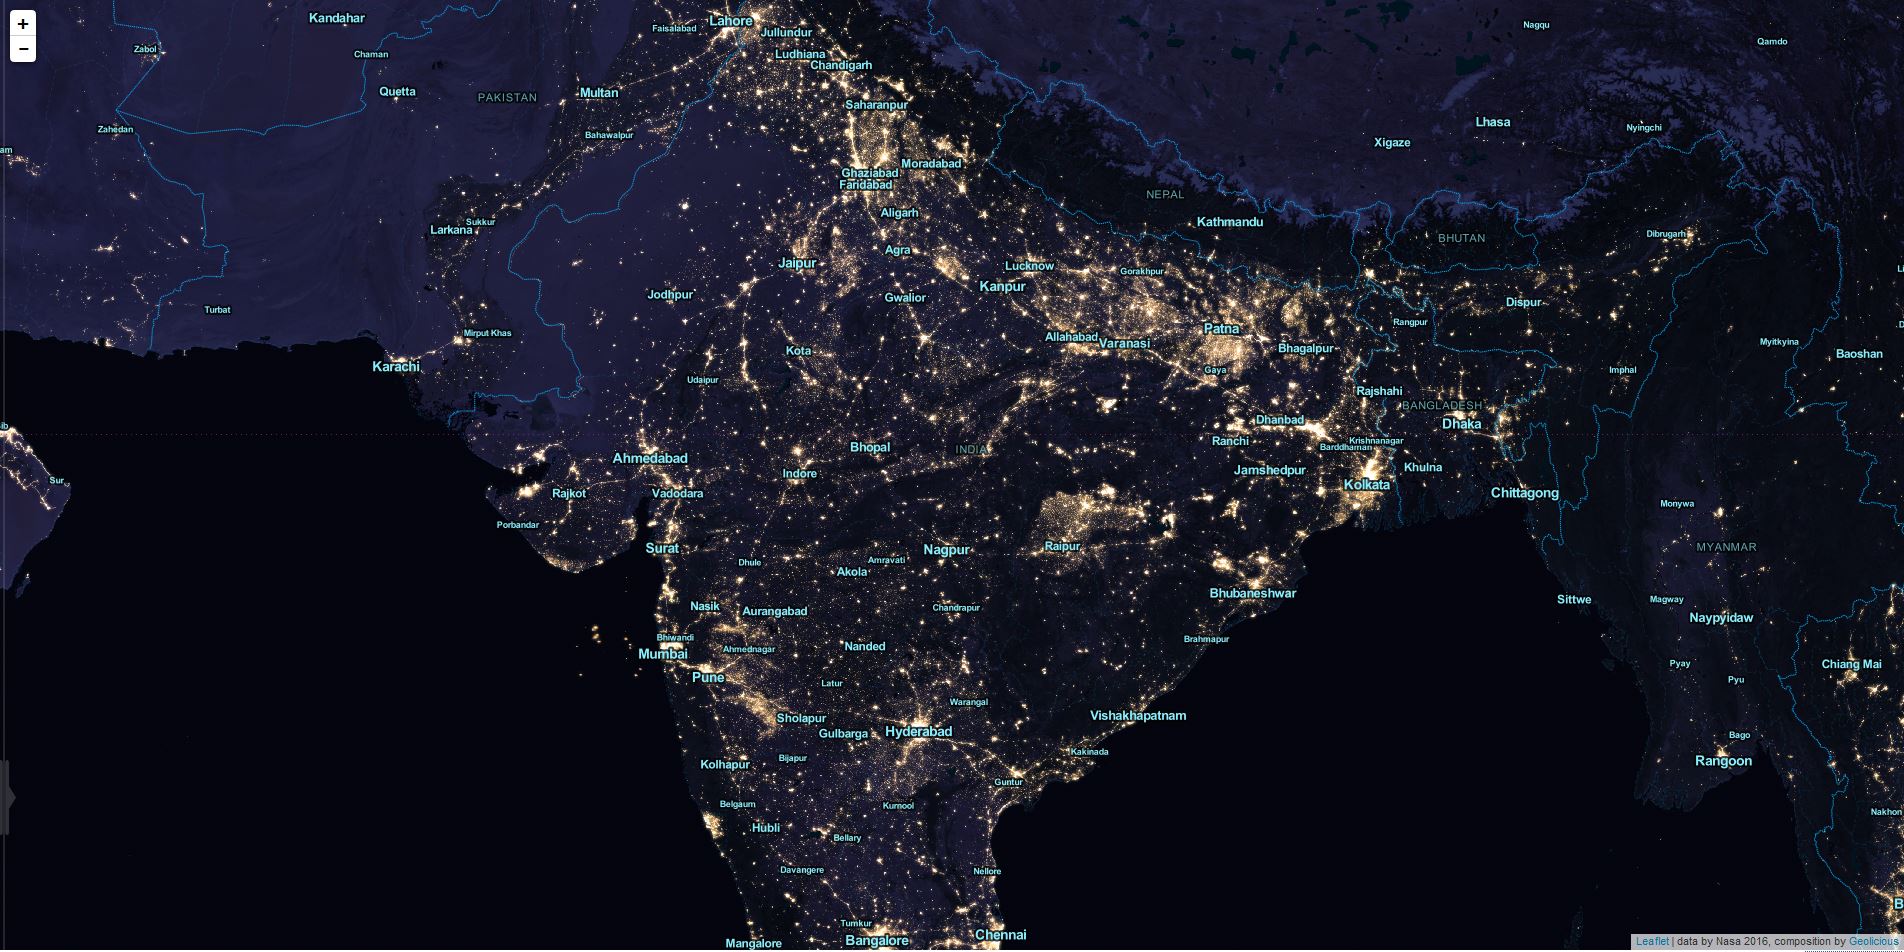
Next up, we want a pretty index page, as the built-in TileStache preview is rather clunky and doesn’t give you an index or overview of your existing layers. We already referenced this file in the config, so we only need to create an HTML doc and use Leaflet as viewer for our tiles. We will also use the Leaflet.layerscontrol-minimap plugin to show previews of the available layers in the layer control. Add as many layers as you want from your providers of choice and add them to the tilestache.cfg as well as on the index.html.
$ nano ~/tilestache/index.html
<!doctype html>
<html lang="en">
<head>
<title>My Tileserver</title>
<meta charset="utf-8" />
<meta name="viewport" content="width=device-width, initial-scale=1.0">
<meta http-equiv="Content-Type" content="text/html; charset=UTF-8" />

<!-- Stylesheets -->
<link rel="stylesheet" href="https://unpkg.com/leaflet@1.0.3/dist/leaflet.css" />
<link rel="stylesheet" href="https://unpkg.com/leaflet.layerscontrol-minimap@1.0.18/control.layers.minimap.css" />
<style>
  html { height: 100%; vertical-align: baseline; }
  body, #map { height: 100%; margin: 0; padding: 0; }
</style>

</head>
<body>
<!-- Map -->
<div id="map" class="map"></div>

<!-- Scripts -->
<script src="https://unpkg.com/leaflet@1.0.3/dist/leaflet.js"></script>
<script src="https://unpkg.com/leaflet.layerscontrol-minimap@1.0.18/L.Control.Layers.Minimap.js"></script>
<script>
var map = L.map('map', { center: [0, 0], zoom: 3, zoomControl: true });

// LAYERS: //

var baselayers = {
  'My Layer': L.tileLayer('https://tiles.mydomain.com/my_layer/{z}/{x}/{y}.png', {
    minZoom: 3,
    maxZoom: 8
  })
};

var overlays = {};

var layersControl = L.control.layers.minimap(baselayers, overlays, {
  collapsed: false
}).addTo(map);

// define a default layer from the above list of layers baselayers
['My Layer'].addTo(map);

// resize layers control to fit into view.
function resizeLayerControl () {
  var layerControlHeight = document.body.clientHeight - (10 + 50);
  var layerControl = document.getElementsByClassName('leaflet-control-layers-expanded')[0];
  layerControl.style.overflowY = 'auto';
  layerControl.style.maxHeight = layerControlHeight + 'px';
}

map.on('resize', resizeLayerControl); resizeLayerControl();
</script>
</body>
</html>
Finally, we’ve got to glue the pieces together and create a supervisor config, that will tell supervisor how to run the tilestache app using gunicorn. Up to 4 workers should be acceptable for each CPU core if you are alone on the server.
$ sudo nano /etc/supervisor/conf.d/tilestache.conf
[program:gunicorn_tilestache]
command=gunicorn --workers 4 "TileStache:WSGITileServer('/home/user/tilestache/tilestache.cfg')"
directory=/home/user/tilestache/
user=user
autostart=true
autorestart=true
redirect_stderr=true
Now that everything is in place, we can start the service using:
$ sudo supervisorctl start gunicorn_tilestache
From now on, nginx should take any request on your configured domain and pass the request to gunicorn, where tilestache is configured to respond with tiles or the index page.
I hope you liked this longish tutorial, feel free to comment and suggest any tricks that I am missing.