Introduction
This tutorial will explain you how to create your own, interactive webmap in a fast and easy way! Such webmaps are used zo visualize e.g. adresses on digital maps. I’m using QGis 2.4 + Qgis Plugins: Qgis2Leaf and MMQGIS.
1. Data Preparation
The first step contains the data preparation. The easiest way to do that ist creating a spreadsheet with the needed columns. To realize the transition between a spreadsheet and a webmap, we need geocoded adresses, wich we will create automatically by the MMQGIS Plugin. To make this operation run we need the columns called “address”, “city”, “state” and “country”. Fill up the columns “address” and so on with your data. Of course you can already fill up your further columns with information (have a look at picture 1).
2. Geocoding adress-data by using MMQGIS
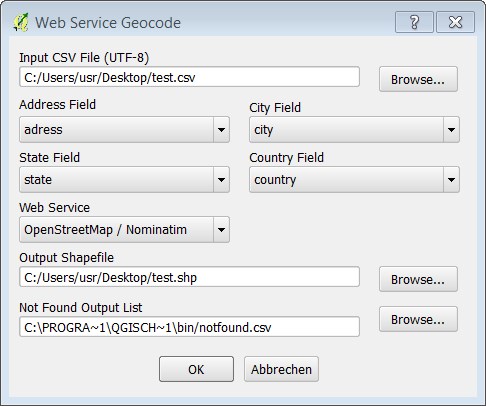
Let’s have a look at the mentioned MMQGIS-Plugin. You can install it by clicking on the addon-button in QGis and type MMQGIS. Install it and go to the new menu “MMQGIS – Geocode – Geocode via Google or OSM”. Now choose your csv-file from step 1, set the data-headers (picture 2) and select the OSM geocoder (if you geocode your addresses with Google you have to use google maps as base layer).
Click “OK” and the geocoding will progressing. Finally you get a new layer in your QGis project, which we use for creating our webmap.
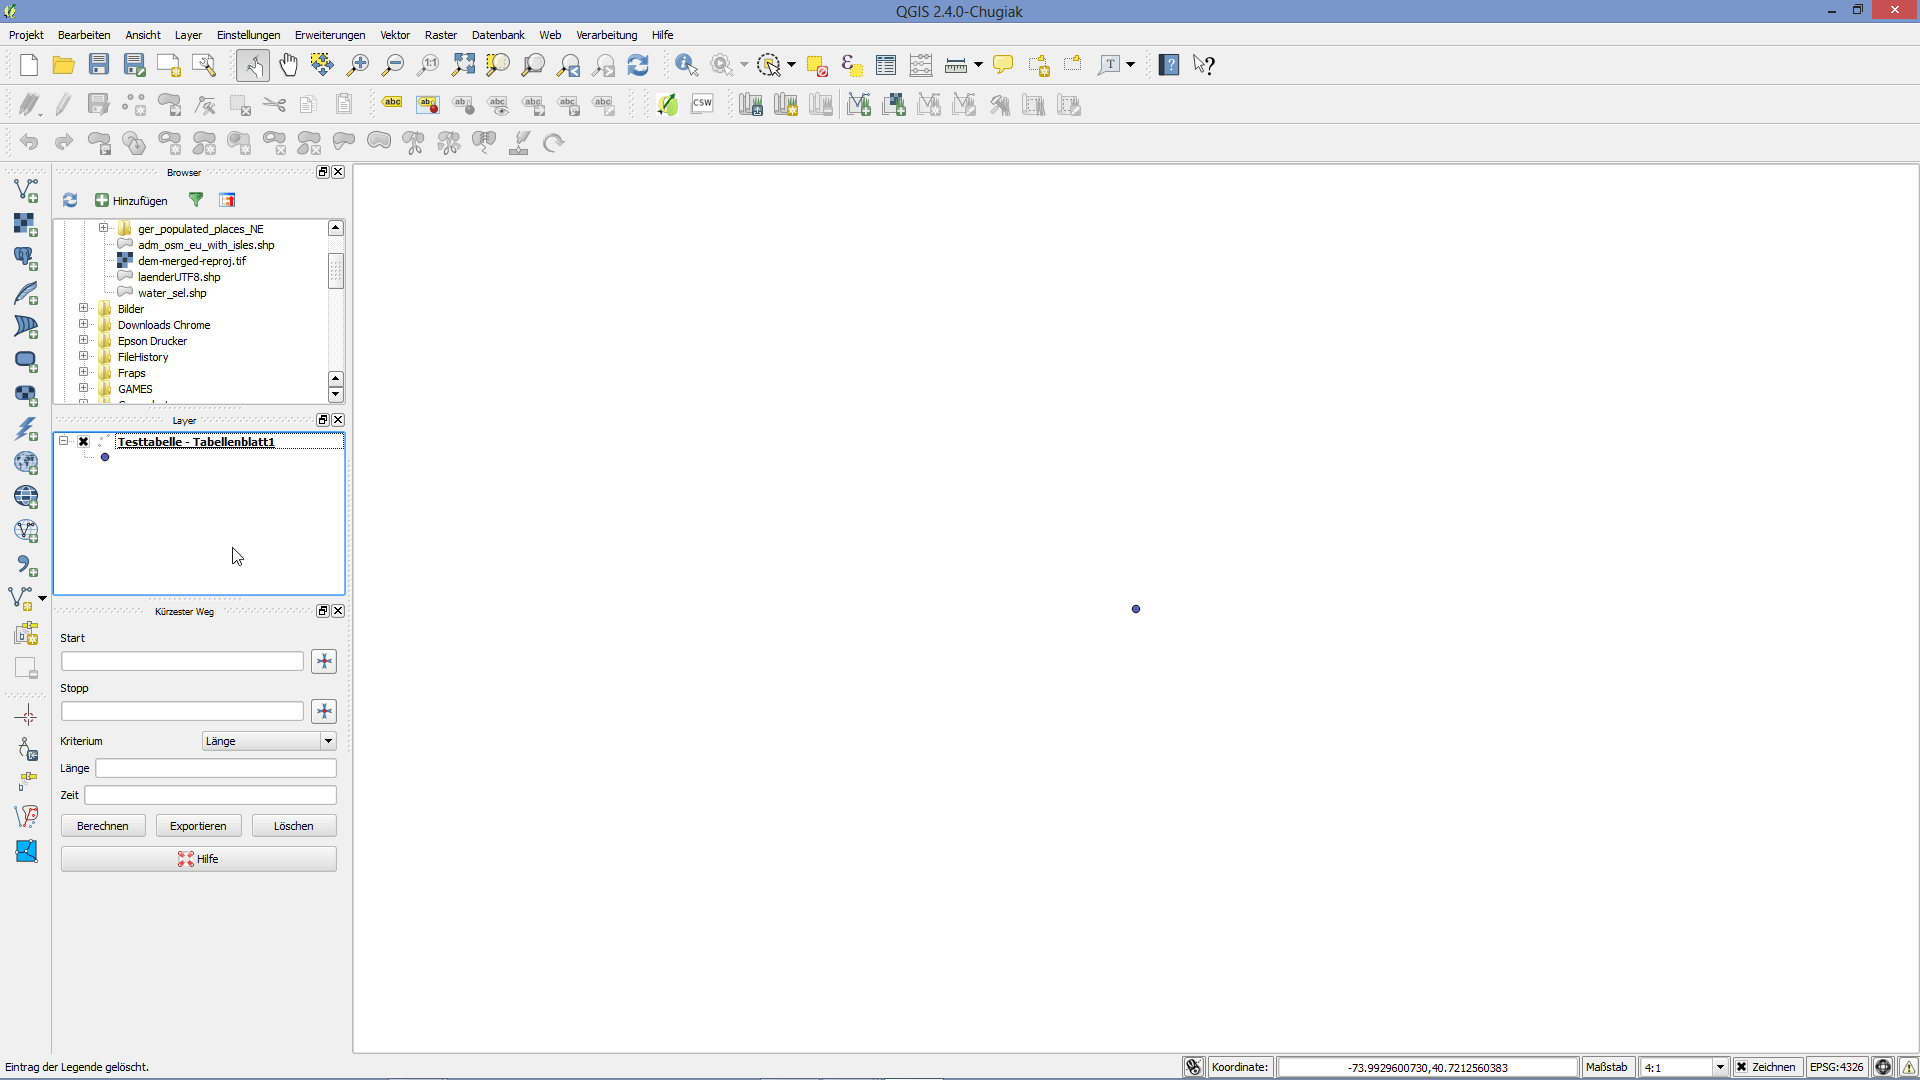
When everything worked fine, you should see the markings of your geocoded adresses in the output window.
4. Label styling
Of course you can use the labels given from QGis, but if you want to use your own ones, you should know that QGis2leaf doesn’t support svg-files at the moment. An easy alternative to use individual labels is to add a “icon_exp” column, in wich you have to quote the file path of your picture, label or icon (highlighted in picture 4). Watch out Windows-user! You have to swap the slashes, use such “/” instead of “\” those.
5. Export via Qgis2Leaf
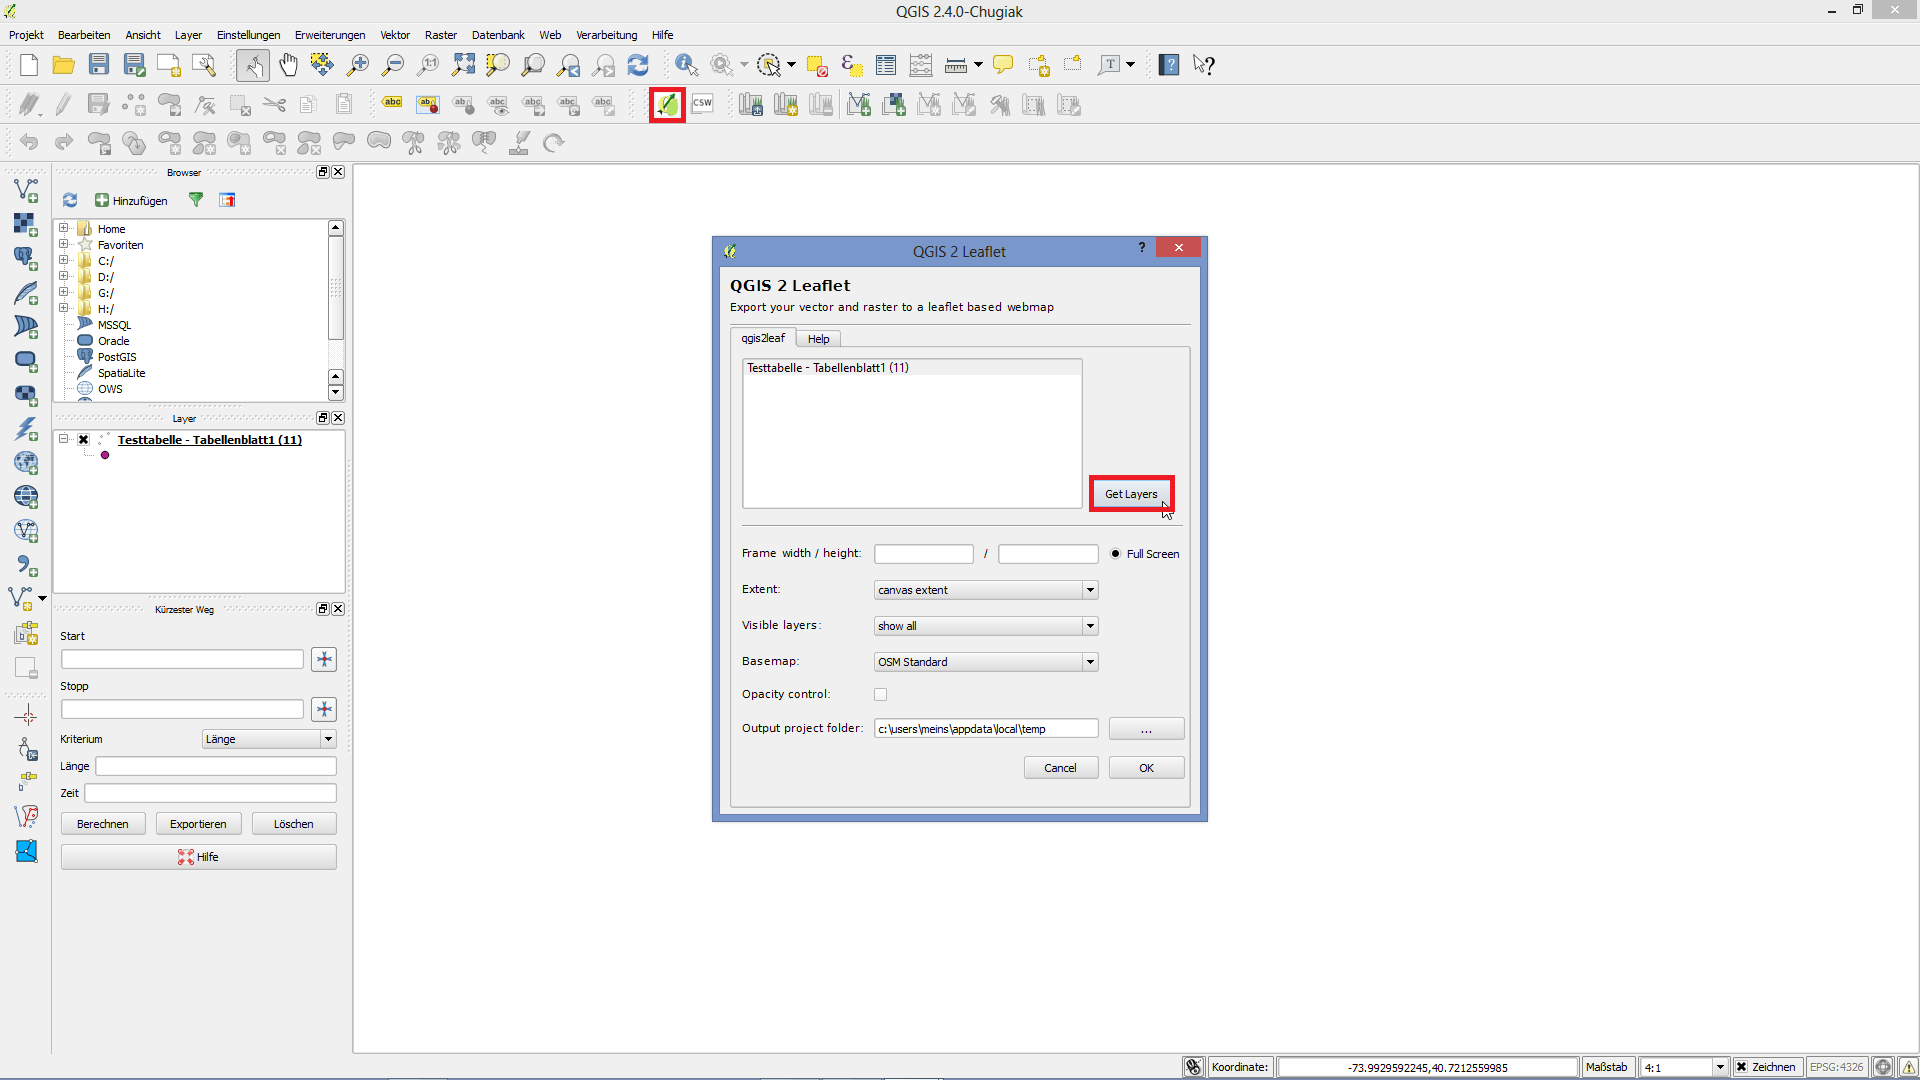
Due to the wonderful plugin QGis2leaf, it isn’t neccessary to have Javascript knowledge, to generate an initial webmap. As you see on the picture, you find the plugin by hitting the buttons “extensions> manage and install extensions”.

Now a window is opening. Search for “QGis2leaf”, install, and here you go. Your toolbar is extended by a very usefull function!
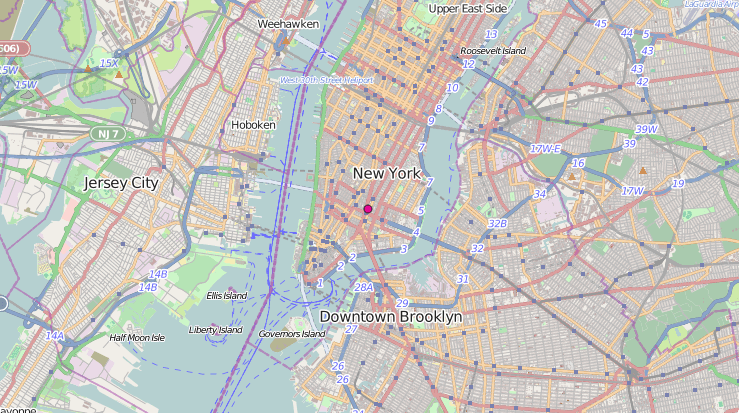
Here you can see a map with a standard label:
And here is one with an own label:

Something more about Qgis2leaf.
the tutorial is great, but there is a little problem: you forgot to read the term of use of the google geocoder.
The Geocoding API may only be used in conjunction with a Google map; geocoding results without displaying them on a map is prohibited. For complete details on allowed usage, consult the Maps API Terms of Service License Restrictions.
https://developers.google.com/maps/documentation/geocoding/#Limits
@maurizionapolitano:disqus: Thank you for your important advice. We stopped and revised the article immediately! Now the geocode-part is getting done by the MMQGIS Plugin via the OSM geocoding service. Sorry Google!
[…] post QGis Tutorial: webmap creation with QGis, QGis2leaf and MMQGIS appeared first on Digital […]
And don’t change to another application when using MMQGIS. Just when I changed the application as it felt so long to wait for MMQGIS to finish, QGIS just crashed…