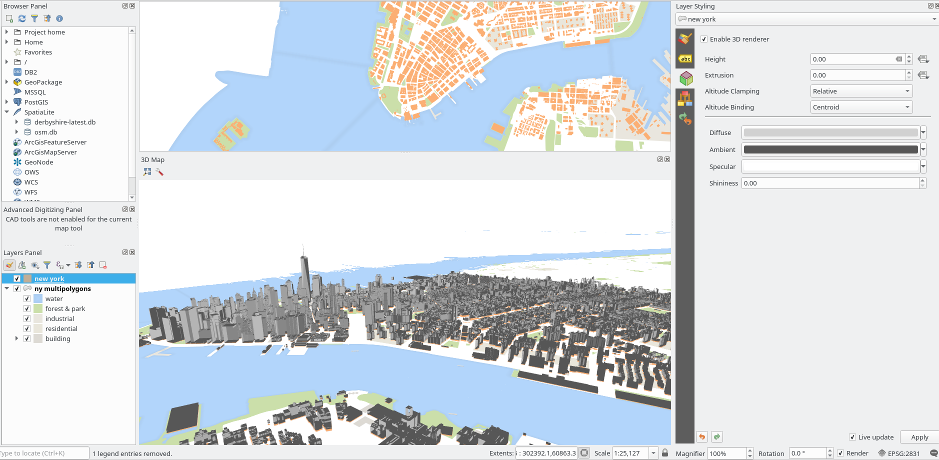
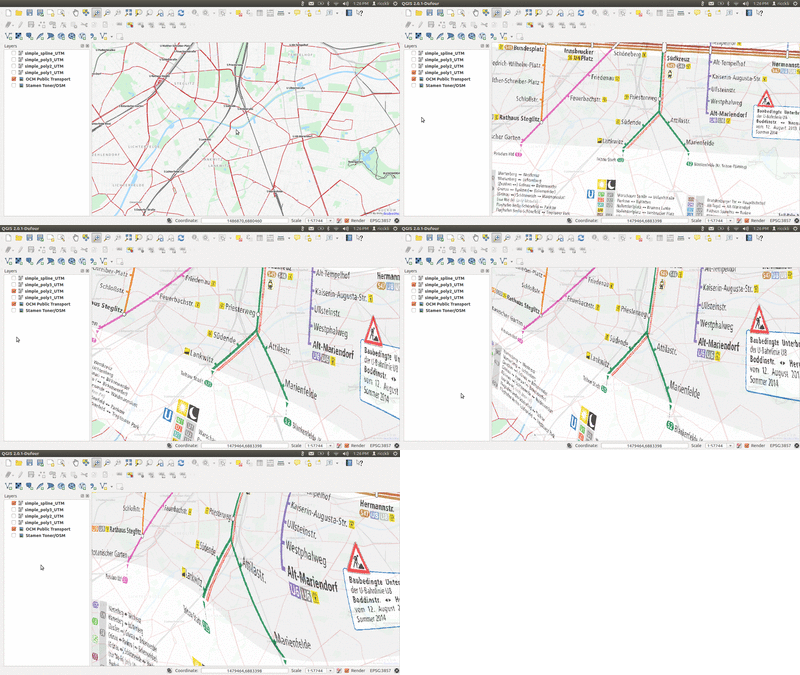
On 24th of February, the QGIS developers have officially released QGIS 3 (codename “Girona”). It is the third major version of the free and open source cross-platform GIS software. In this post, I want to tease you with the most important infos and installation instructions.

About QGIS
Before starting with the details, here is a short wrap up for uninitiated readers:
“QGIS is a user friendly Open Source Geographic Information System (GIS) licensed under the GNU General Public License. QGIS is an official project of the Open Source Geospatial Foundation (OSGeo). It runs on Linux, Unix, Mac OSX, Windows and Android and supports numerous vector, raster, and database formats and functionalities.” (source: qgis.org).
So if you haven’t used it yet, you should definitely give it a try. QGIS has seen a lot of fundamental improvements in the QGIS 3 development cycle, and I can only second what Nyall Dawson, one of the core developers, said about it in this interview: “It’s the magic unicorn fairy land of open source GIS™!
What’s New In QGIS 3?
I won’t cover the whole changelog here, but if you are interested in the details, head over to the visual changelog, where developers and volunteers documented the most important changes. If you are interested in a more in-depth introduction, Kurt Menke has written a nice blog post.

QGIS 3 has been in the making for quite some time, and the developers have revisited a lot of internals to make sure it is build on a solid foundation for the years to come. This comes with the downside of breaking some compatibility with earlier versions, but this is a necessary step to make it future proof. The developers have taken measures to make sure the transition is smooth as far as possible. You will be able to open your QGIS 2 projects in QGIS 3, but not the other way around, so make sure to keep your QGIS 2 projects backed up.
Some plugin developers have already updated their plugins to work with QGIS 3, but it might take some time until most of them catch up with breaking changes. Some plugins might not see updates at all if their original authors left them orphaned, for whatever reason. Therefore, if you are using QGIS professionally, you should first test QGIS 3 on a separate device or in a virtual machine to see if any critical plugin stops working. Also, it helps a lot if you report any errors that you encounter on the appropriate bug tracker. By the way, QGIS 2.18 will be the new long-term-release, which means it will get security and stability fixes for at least one year.
Installation
To install QGIS 3, go to the official download page and follow the instructions for your operating system. Windows Users should be fine downloading the standalone installer for 64-bit systems. If you want to explore more open source GIS software, you can try the OSGEO installer as well, which also includes a load of other cool stuff.
Mac users might need to wait a little longer until developers find time to package QGIS for Mac devices. Keep an eye on the downloads page and if you’re a Mac developer, consider to help out the packagers. It might be a little hard to understand why Mac is not a first class citizen here, but as the developers point out here, it’s simply about the resources.
If you are running Linux, have installed QGIS 2 already and using the official repositories, you should get QGIS 3 via the system updates automatically.
If you are running Ubuntu 16.04, you need to use the a repository that contains binaries built against the ubuntugis repository on Launchpad. This is because QGIS 3 depends on system packages that are not available on vanilla Ubuntu 16.04. In this case, you need to add two external repositories to your systems software sources:
# In a new terminal window, create and edit a new sources file:
nano /etc/apt/sources.d/qgis.list

# In the editor, paste the following lines:
deb https://qgis.org/ubuntugis xenial main
deb http://ppa.launchpad.net/ubuntugis/ubuntugis-unstable/ubuntu xenial main

# Save the file with Ctrl-O, press Enter to confirm the filename.
# Back in the Terminal, add the public key for the QGIS repository:
sudo apt-key adv --keyserver keyserver.ubuntu.com --recv-key CAEB3DC3BDF7FB45

# update the package index:
sudo apt update

# ...and install QGIS (when asked, confirm with y):
sudo apt install qgis
If you are running a more recent Ubuntu version (17.10, 18.04), the standard repo should be just fine. You can follow the same instruction as above, but use content the following for the sources file:
# for Ubuntu 17.10 "Artful":
deb https://qgis.org/ubuntugis artful main

# for Ubuntu 18.04 "Bionic":
deb https://qgis.org/ubuntugis bionic main
Final Remarks
QGIS is a community project and is made by volunteer and professional developers alike. QGIS has seen a lot of adoption in science, private and public sector in the last years, and the increasing speed of development reflects that businesses and public institutions sponsor money and developer time to make it better, for the advantage of everyone. If QGIS is makes your life easier, consider to support it via translations, bug reporting, developer time or sponsorships.


