What if you want to build your own webmap on your WordPress blog without any knowledge about javaScript, frontend web development and geojsons? You can use a plugin! In this article I’ll give you a short introduction about “Maps Marker”, a popular tool to create webmaps within seconds. First I’ll show you how to install Maps Marker, after that we create a first webmap with a test marker.
1. Install Maps Marker plugin
Installing the Maps Marker plugin is really easy. Just go to your wordpress admin area, choose plugins, search for “Maps Marker” and hit the install button.
2. Create a webmap with Maps Marker plugin
After install was successful you can find a new option in your side panel.

Just click on “Add a new layer” to create a map as base for single marker. Define a Layer Name, a Location, Map Size, Zoom-level, some options about a layer list and more and publish the map.

3. Add a marker with Maps Marker plugin
After that you’re able to create marker on that layer by click on “Add new marker”.
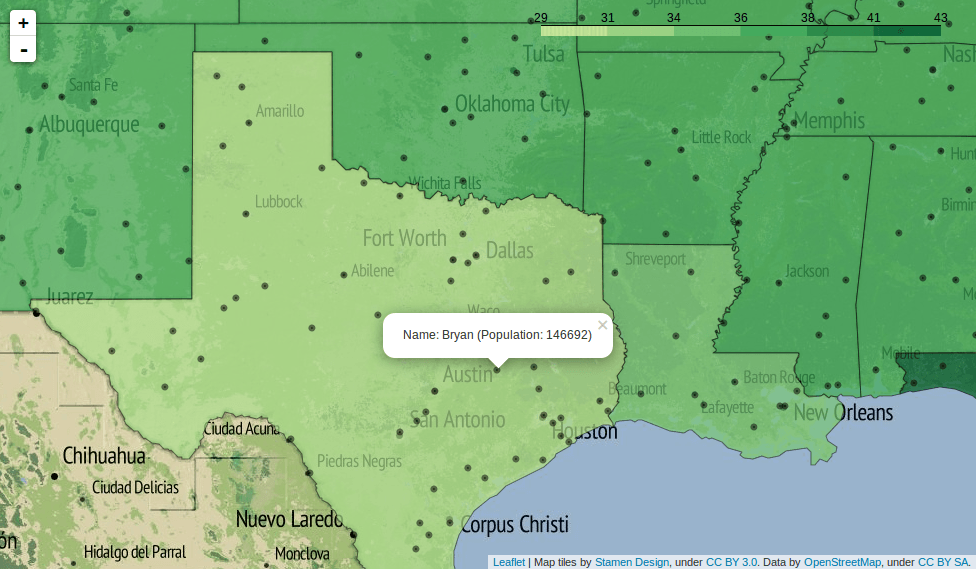
Define a Marker name, a location and the base Layer where marker should be shown. Beneath that you can choose a marker icon and write html popup content.

Here you can find the full feature list of Maps Marker.
4. Include this map into your posts
Finally you’re ready to import this new layer with all created markers or just single markers to specific posts or pages. Just use the embed code which is shown at “List all markers” or “List all layers”.
5. Conclusion
Maps Marker is a really stable and fast tool to create basic webmaps. If you want to define specific things you have to choose one of the premium plans. When it comes to more professional web projects, you should think of a individual programmed webmap solution.
What is your preferred way to create webmaps?