In this post I’ll take you through some simple functions in the freeware polarimetric SAR processing package, PolSARPro. The software is distributed by the European Space Agency (ESA) and supports a wide range of dual- and quadpol datasets, including Radarsat-2, Envisat ASAR, SIR-C, EMISAR, and AIRSAR. I’ll be processing ALOS PALSAR in this example. The steps I will show are: Importing and Extracting data, calibration, speckle filtering and multilooking. We will finish by producing an Entropy-Alpha-Anisotropy dataset.
Getting Started
We start by identifying the directory in which our data lies. To do this we click on the first icon (highlighted in yellow in the figure 1). As I have one image dataset and not an interferometric pair, I select the “Single Data Set” option. Now the “Environment” and “Import” menus are activated (previously they were greyed out).
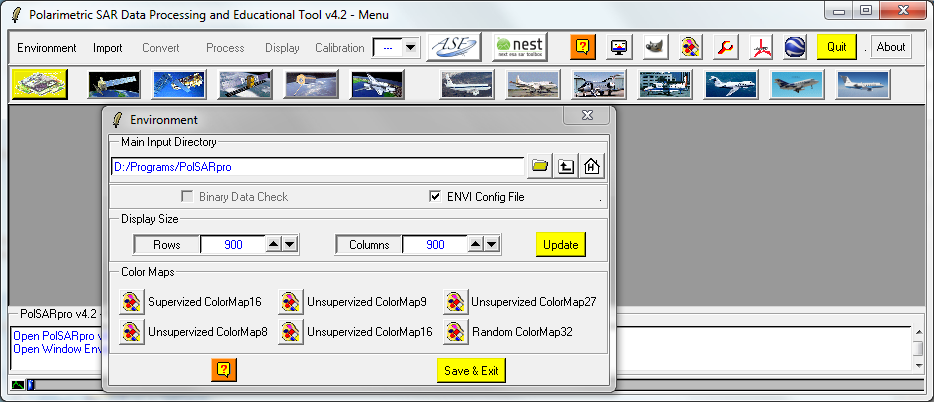
If you data are in the default PolSARPro (PSP) directory you do not need to access the “Environment” menu. However, most of us don’t store our data in the program directory so we need the “Environment” GUI to locate our data. As I also use ENVI I have the “ENVI config. file” flag marked. This creates an ENVI header for each image product to facilitate easy importation to ENVI.
Using the “Import” menu we can now identify the type of data we are using (fig. 2)
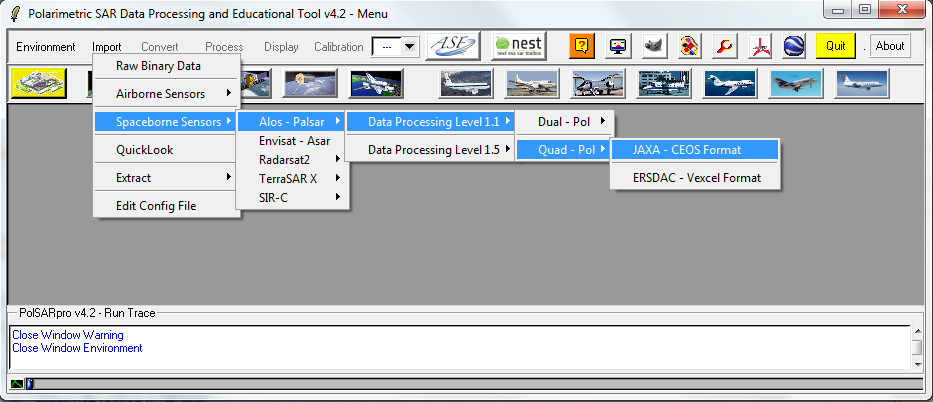
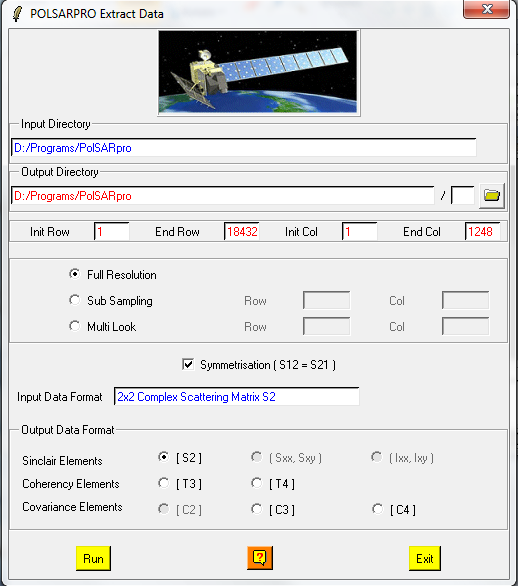
A GUI/dialogue will open. We now locate and select the Leader file for our dataset. Next click “Check Files” to ensure the dataset is correct and complete, then “Read Header”. Click OK to close the dialogue and OK again when a pop-up reminds us to extract the data. PolSARPro is a little pedantic at times. We no select “Import”, then “Extract” and “Full Resolution” to open a new dialogue allowing us to load our image data.
I want to calibrate the data so I choose to produce the Sinclair Elements (S2) not coherency or covariance elements.
Calibration and Speckle Filtering
We will calibrate our data to allow us to derive a more accurate geophysical product. Calibration improves the accuracy of our data meaning we can better compare images. My data are from ESAs ADEN program and have some corrections already applied. However, we still need to apply calibration to ensure a rigorous treatment of the data.
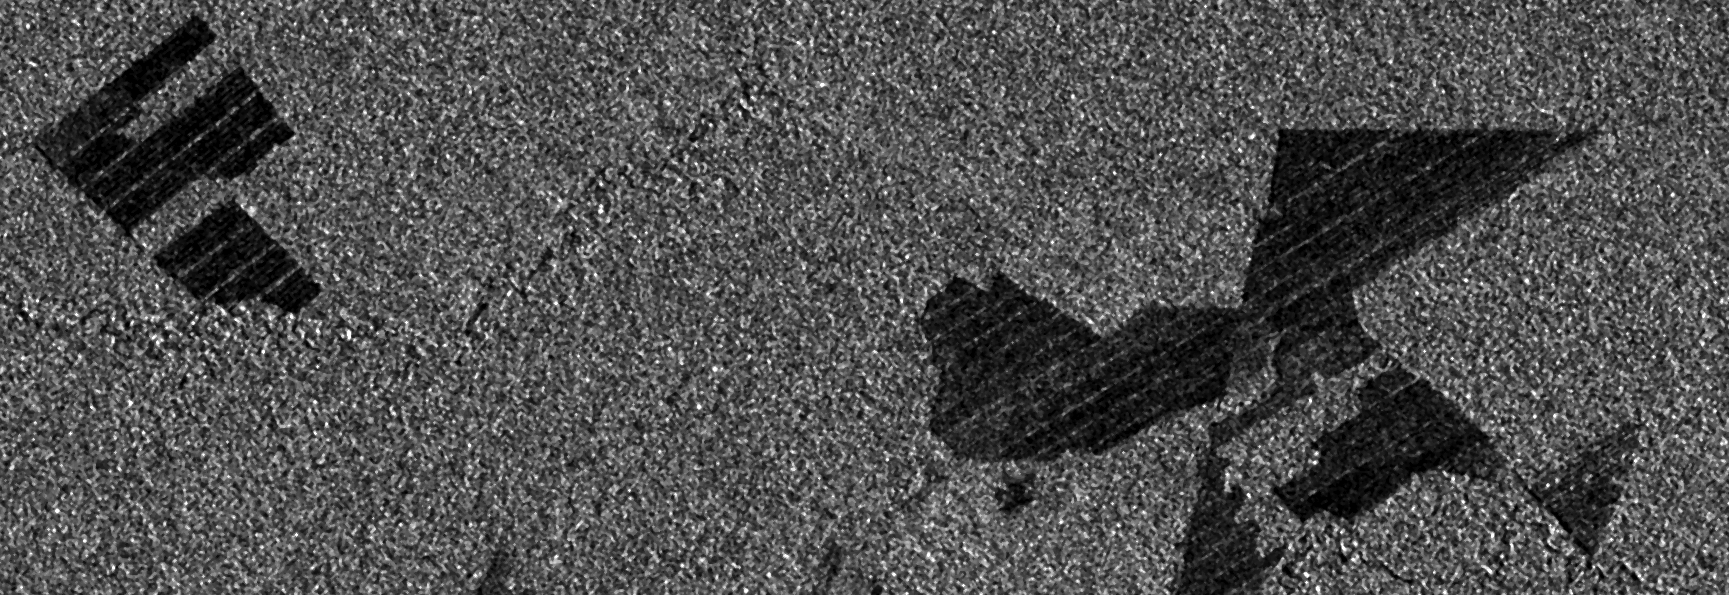
I choose to use an Ainsworth calibration procedure, though I am confident that the Papthanassiou and Quegan approaches are equally valid. Next we will apply a speckle filter. This supresses ‘speckle‘ which we consider a form of noise. I prefer a J.S. Lee refined filter. In the past I have found this to be efficient and results in less destructive averaging. It is also worth noting the Jong-Sen Lee has contributed to the development of PolSARPro (and is co-author of an excellent book on polarimetry).
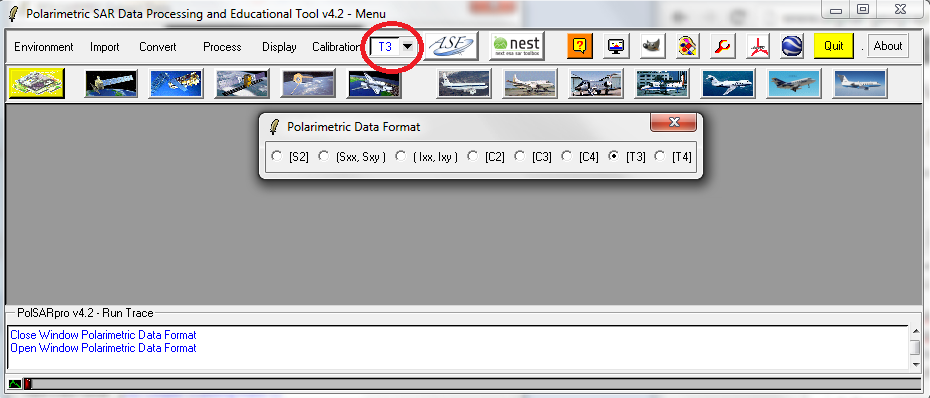
Having filtered the data the format will now be changed to T3, that is a coherency matrix. However, PolSARPro needs to be told this so we click on the small drop-down menu on the toolbar (fig. 4). Select T3 in the pop-up menu.
We now have our data is a format we can work with. We have one last pre-processing step: multilooking. Multilooking averages the image, supressing speckle and creating a more usable geometry. To multilook (create an image with a a similar azimuth and range resolution and improved geometry) we use “Convert” in the main toolbar.

Choose the multilook option and enter the appropriate number of riows and columns to be averaged. I am using PALSAR data with 3,6 m grid size (resolution) in the azimuth or along track direction, and 23,0 m in the range or across-track direction. I am going to use an average of 6 rows to 1 column though 7 looks would also work. If we wanted to really reduce speckle and didn’t require a high spatial resolution we could choose to average in the range direction too. In this case we could choose to average by 13 looks in azimuth (rows) and 2 in range (columns). Note, the multilooking is dependent on range/azimuth resolution and should be adjusted according to your input data. For Radarsat-2 4 looks in azimuth would be appropriate. Final note: you may need to change the dircetory name in order to run the multilooking.
PolSAR Analysis
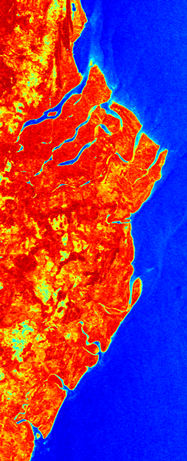
Now we are ready to run our image analysis routines. the “Process” menu shows a wide range of procedures we can apply. PolSARPro really does offer a rich and varied assortment of polarimetric image operations/processes. A good place to start is entropy-alpha (and anisotropy). These are eigenvector based decompositions propsed by Shane Cloude and Eric Pottier (two giants in radar polarimetry). Entropy-alpha ( Hᾱ) decompositions allow us to make important inferences about the properties of our target. The Hᾱ plane also facilitates polarimetric classification. For a thorough discussion of entropy-alpha and anisotropy (A) see Lee and Pottier (2009).
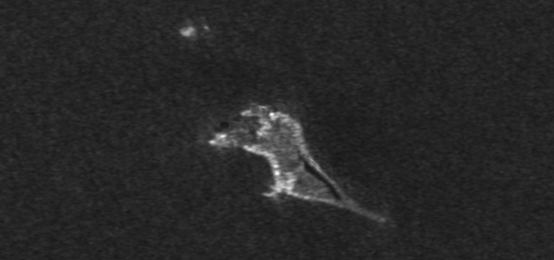
To perform an Hᾱ decomposition choose “H/A/Alpha Decomposition” from the “Process menu” and select the first option: “Decomposition Parameters”. In the GUI that opens select Alpha, Entropy and Anisotropy options. I usually also select the BMP flags (to create a bitmap that can be easily viewed). I also prefer to choose the Combinations (H,A) option and all the associated combinations (e.g. HA, H(1-A) etc.). These combinations extend the potential of Hᾱ analysis (see Lee and Pottier, 2009; Fig. 7.13, p. 246). I normally opt for a window size of 7 which I think is a balance between too much spatial averaging and too little. “Run” the process to create the image products selected: you can easily view the results by opening the BMP files (fig. 5). Note: a Pauli Basis image will also be produced!
Now you have calcuated Hᾱ and A you can perform a range of other processes including the Fuzzy C-means Classifier (found under “Process” >”Polarimetric Segmentation ” > “Fuzzy H-Alpha Classifier”. This is a powerful polSAR classification method that in my experience out performs the Wishart approach (though it should be noted you are limited to 8 classes).
<
p align=”justify”>If you wish to continue processing data you may need to redirect PSP to another directory. To do so use the “Environment” menu. You will probably be using the CAL_LEE directory if you have followed the instructions above and this is the directory of choice for any other image processing operation.
Sir, how do i calculate rows and columns for multi-look resolution?
I am using RISAT-1 data.