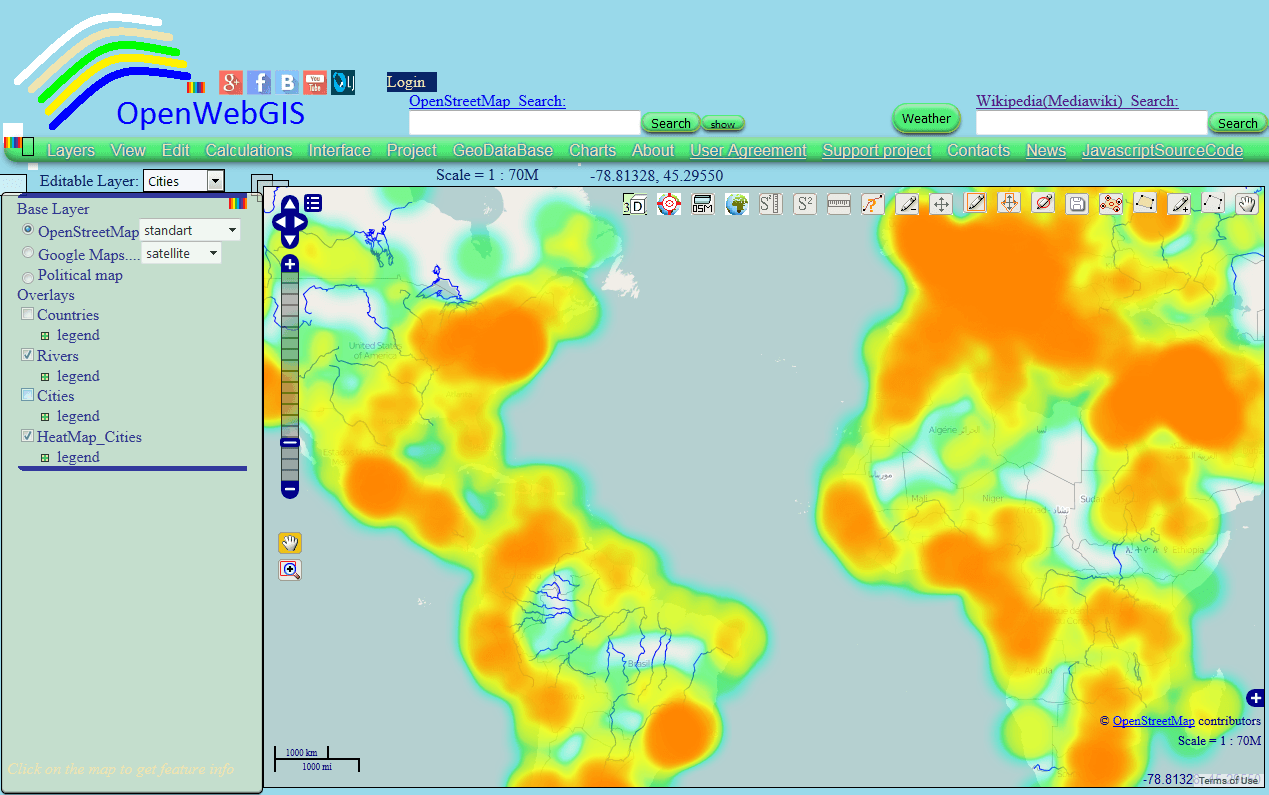
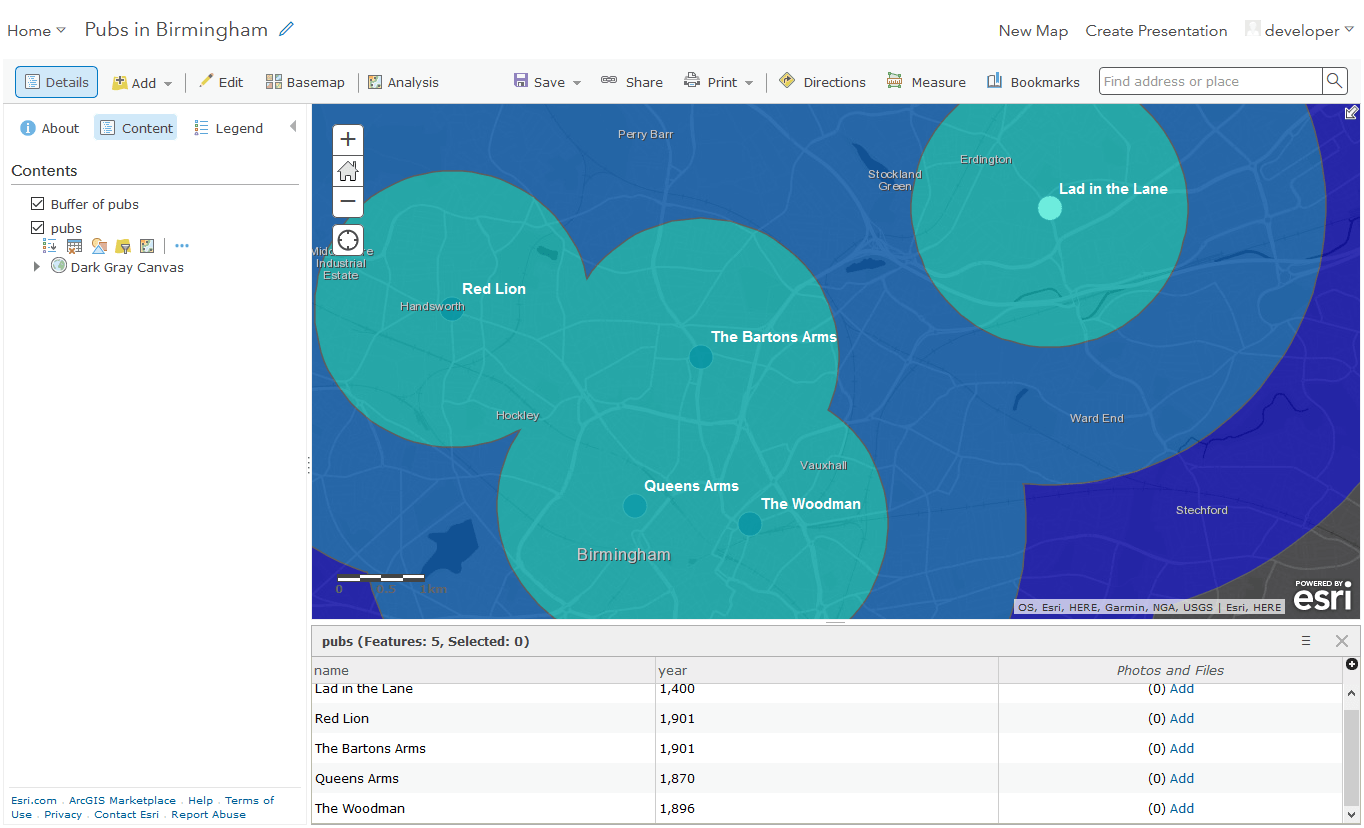
In the last tutorial we have created a very basic web-map using OpenLayers and one web-mapping service from OpenLayers itself. In fact using OpenLayers seems to me like consuming WMS layers and combine them to a new map.
In the next example I would like to show you, how to add a second layer which contains some labels of interest.
The “index.html” file we will start with will much look like an initial container for our code:
<!DOCTYPE html>
<html lang='en'>
<head>
    <meta charset='utf-8' />
	<title>A second example using two layers</title>
    <script type='text/javascript' src='OpenLayers.js'></script>
    <script type='text/javascript'>
    var map;
   	function init() {
        // Setup our map object
        map = new OpenLayers.Map('map_element', {});
        // Setup the first layer object of a base layer
		var base_map = new OpenLayers.Layer.WMS(
			'Base Map',
			'http://vmap0.tiles.osgeo.org/wms/vmap0',
			{layers: 'basic'}
		);
        );
        // add layers to the web-map
        map.addLayers([base_map]);

        // standard: zoom the map to the max extent
		if(!map.getCenter()){
			map.zoomToMaxExtent();
		}
    }
    </script>
</head>
<!-- and adjust the map page itself -->
<body onload='init();'>
    <div id='map_element' style='width: 400px; height: 300px;'>
	</div>
</body>
</html>
Tthis will create a simple map as seen in the last article. Going further: the command var base_map set up the base map so we will need a second var:
var labels_layer = new OpenLayers.Layer.WMS()
Now we need to arrange the type of the second map which will be fed by another OpenLayers WMS to provide the labels. The name should be “Labels” and the layer taken from the WMS is called “clabel”. In the end the underneath layer should be still visible:
var labels_layer = new OpenLayers.Layer.WMS(
            'Labels',
            'http://vmap0.tiles.osgeo.org/wms/vmap0',
            {layers: 'clabel', //we will just use country labels
            transparent: true}, //if transparent set to false the layer will cover the base map
);
And don’t forget to enhance the map.addLayers function from line 20 of the above mentioned container:
map.addLayers([base_map, labels_layer]);
But now we have two layers so we need to give the first layer the option {isBaseLayer: true} to define the base-layer role.
Another great option is the use of a layer-switcher which will adjust the visibility of a layer. Therefore use
        // add a simple layer switcher control
        map.addControl(new OpenLayers.Control.LayerSwitcher({}));
In the end, the code should look like this:
<!DOCTYPE html>
<html lang='en'>
<head>
    <meta charset='utf-8' />
	<title>My secondary example with two layers</title>
    <script type='text/javascript' src='OpenLayers.js'></script>
    <script type='text/javascript'>
    var map;
	function init() {
        // Setup our map object
        map = new OpenLayers.Map('map_element', {});
        // Setup the first layer object of a base layer
		var base_map = new OpenLayers.Layer.WMS(
			'Base Map',
			'http://vmap0.tiles.osgeo.org/wms/vmap0',
			{layers: 'basic'},
			{isBaseLayer: true}//declare it as the base layer
		);
        // Add an overlay layer.  We set the transparent property to true
        //    in the WMS parameters so it doesn't cover up the base layer
        var labels_layer = new OpenLayers.Layer.WMS(
            'Labels',
            'http://vmap0.tiles.osgeo.org/wms/vmap0',
            {layers: 'clabel', //we will just use country labels
            transparent: true}, //if transparent set to false the layer will cover the base map
            {opacity: 1} //arange to 0.5 if you would like to see through the label
        );
        // add layers to the web-map
        map.addLayers([base_map, labels_layer]);
        // add a simple layer switcher control
        map.addControl(new OpenLayers.Control.LayerSwitcher({}))
        // standard: zoom the map to the max extent
		if(!map.getCenter()){
			map.zoomToMaxExtent();
		}
    }
    </script>
</head>
<!-- and adjust the map page itself -->
<body onload='init();'>
    <div id='map_element' style='width: 400px; height: 300px;'>
	</div>
</body>
</html>
The result (HTML-file) look like this if you have also stored the “theme” and “img” folder from OpenLayers at the same folder (download option here). Otherwise your webmap will not conatin any “visible” buttons:


At this time I am going to do my breakfast, afterward having my breakfast coming over again to read further news.
enjoy your breakfast!